Review of MiniTool Movie Maker: Do you ever wonder how folks have such excellent editing talents after viewing YouTube videos and Instagram? You must also envision individuals spending hundreds of dollars on video editing tools and services.
It may be true in certain circumstances, but not in the majority.
There is a tons of fantastic software available on the market that offers Free video editing software, tools for editing videos and transitions, trimming choices, and other effects. And today we’re going to examine the MiniTool movie maker program, which bills itself as a fantastic video editing tool. But we’ll make it clear in our review whether or not the software is actually worthwhile utilizing.
Review of MiniTool Movie Maker
Let’s begin with an examination of MiniTool MovieMaker and get a thorough understanding of every aspect of the program.
Review of MiniTool Movie Maker: System prerequisites
The majority of Windows PCs meet the software’s minimal requirements.
Along with more recent versions like Windows 8.1 and 10, MiniTool MovieMaker also supports older Windows versions like Windows 7.
The software requires a processor with a clock speed of at least 2GHz and an Intel i5 or above. But Intel 6th Gen or newer versions are advised, according to the film producer.
The software needs 8GB of RAM, and it requires Intel HD Graphics 5000 or a later-generation GPU. Other GPU specifications are AMD Radeon R5 or higher and NVIDIA GeForce GTX 700 or above.
Review of MiniTool Movie Maker: Installing and configuring
It’s quite simple to install and set up MiniTool MovieMaker on a Windows computer.
To get the video editing software, simply follow the instructions and download it for free.
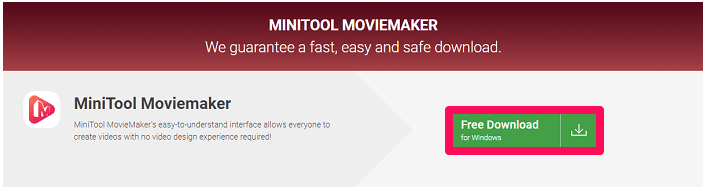
- To get the software package, go to the MiniTool MovieMaker official website and select the Download Now option.
2. In the following step, click Free Download to confirm the download.
3. Once everything is set up, double-click the file and then select Install now to successfully download the installation is complete
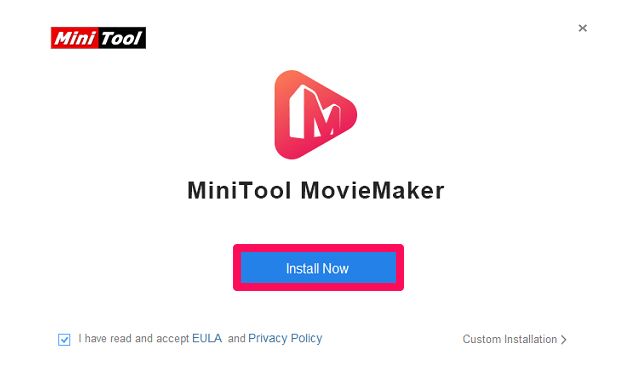
4. As shortly as when the installation is complete, click Start Now.
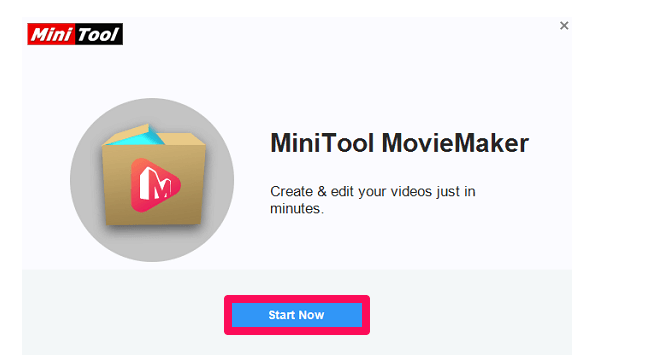
MiniTool MovieMaker’s setup and installation are finished.
With the aid of transitions, effects, and other capabilities, videos can now be edited.
Review of MiniTool Movie Maker: How it is used and the App’s Interface
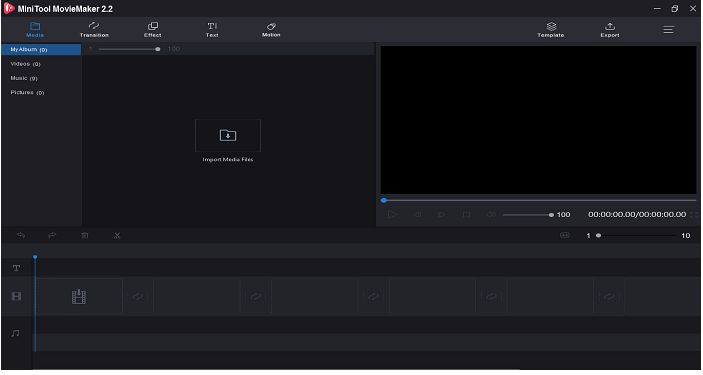
When you first launch the program, you will see a variety of tools and options for editing your photographs and videos to create a whole movie.
If you’ve never used a video editing tool before, the app’s interface could make you feel a little anxious. But be assured, using the app is as simple as pie.
Alternate Effects And Transitions
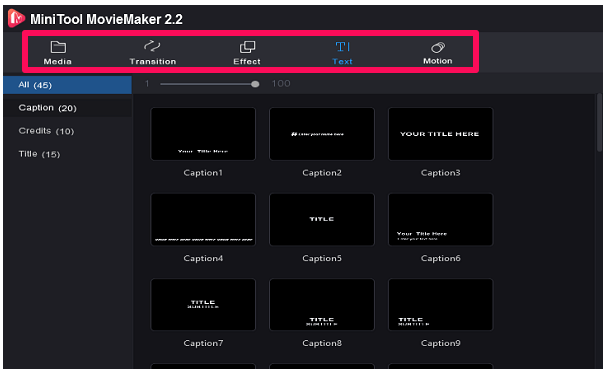
The sections for Media, Transactions, Effect, Text, and Motion are located at the top. As the name implies, you can upload the films, pictures, and animated gifs required to create the final video utilizing the media tool.
All transition effects, including cloud, blind, burn, chessboard, clock, and others, are included in the Transition feature.
Similar to this, the Effects option has a color variation you can utilize to increase the impact of your video.
In the Text area, you can choose the text variations that best fit your film from a variety of options.
You can give the still photographs or text movement using the Motion function. It is also applicable to the videos.
Review of MiniTool Movie Maker: Preview Screen
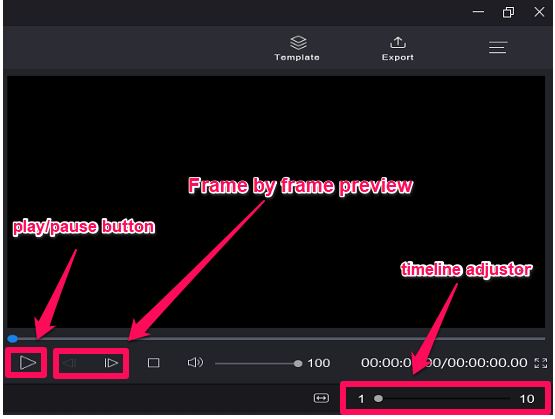
The preview page displays all of the content you have already modified. It displays a video of your entire progress.
The Play/Pause button and the Stop button can both be used in accordance with your needs. You can examine the video frame by frame using the buttons next to the play and pause buttons.
Using the Timeline adjustor, you can zoom in or out of the timeline at the bottom.
Use the buttons on the timeline adjuster’s far left to redo or undo the files, and the Delete icon to remove the undesirable material.
Timeline
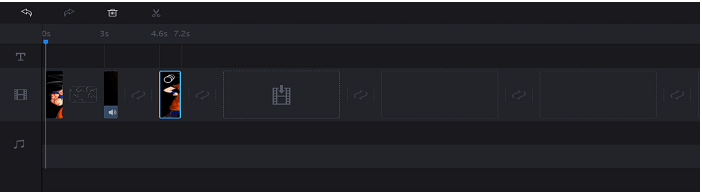
The Timeline section of MiniTool MovieMaker is where all the editing must be done.
To include media files in your video, drag & drop them from the media section. To construct a sophisticated movie, effects and transitions must also be added to or placed in between the material.
The films, pictures, and other visible media must be dragged and dropped into the video section. Similar to how the text you create in the software will go in the Text area, the audio files in the Audio section.
Option For Saving And Export
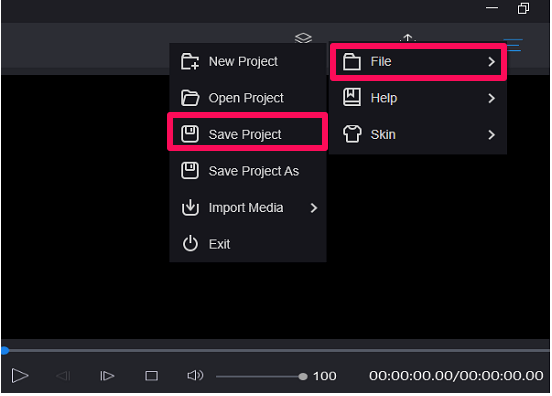
Just use the export option in the top-right corner of the screen to save the finished video to your device once the video is finished.
Don’t forget to save your work in progress as you proceed with making your movie.
To save your current project progress, use the hamburger symbol in the top right corner, select File, and then select Save Project. Use the same choice to exit the software, open an old project, or begin a new one.
Watch this video to see a variety of movies created using MiniTool MovieMaker. You can deepen your understanding of how the software functions by watching this video.
Conclusion
A good option for video editing software, especially if you’re new to the field, is MiniTool Movie Maker.
Not to mention that the software is totally free to use, making it a suitable item for beginners. Professionals will undoubtedly consider it to be feature-poor. It was excluded from our ranking of the top video editing programs because of this.
Our MiniTool movie maker review should convince you to purchase the program. However, you should bear in mind that when you’re working on a project, there may be some software issues. Therefore, remember to save your progress every so often.