We will demonstrate about top 05 easy ways to record your screen on Windows 11 PC. In this article, we are going to explain how to use the built-in screen recorder Xbox Game Bar, Nvidia GeForce Experience, PowerPoint, ShareX, and OBS.
IMPORTANT : With the possible exception of PowerPoint, all of these programs are free. But if you’re using it installed on your computer, you can use it to record your screen on windows 11.
Here are the Top 05 Easy Ways To Record Screen on Windows 11
- Xbox Game Bar
- Nvidia GeForce Overlay
- Microsoft PowerPoint
- ShareX
- OBS
Let’s examine the above 05 ways one by one.
01) Xbox Game Bar
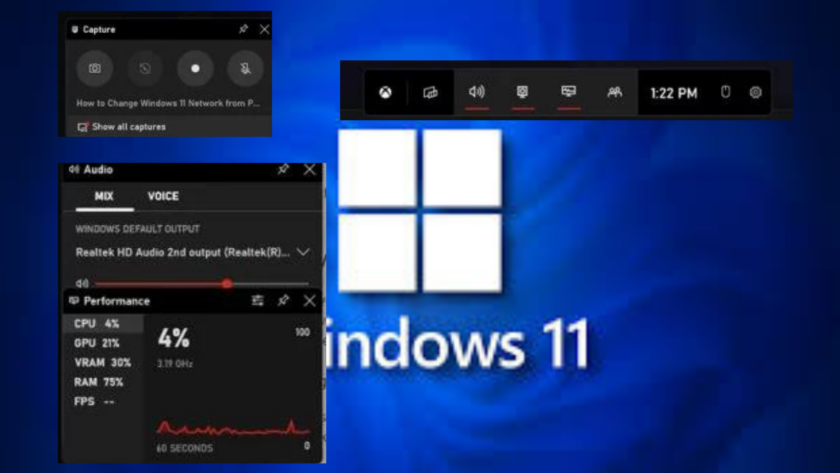
The Xbox Game Bar is first option on the list. Pressing the Windows key + G simultaneously and then selecting Record you can record your screen. Because Windows 11 includes it as a standard feature. This functionality makes screen recording much simpler and is cost-free. So your major problem will be accessing it because you don’t need to download anything to use it. Here’s how to use the Xbox Game Bar to record your screen.
Follow the below steps :
01) Launch the program or screen you want to record.
02) To display the Game Bar over your app or game, press the Windows key + G
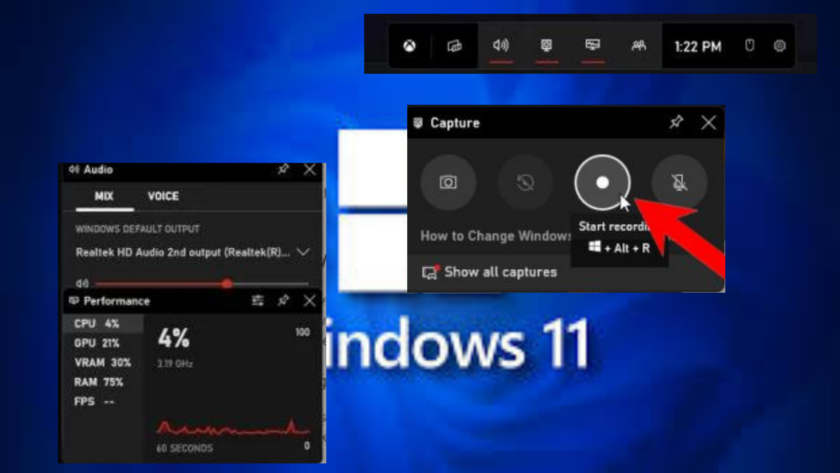
03) Click Start recording when you’re ready to start recording. Alternatively, you may simply hit Windows + Alt + R.
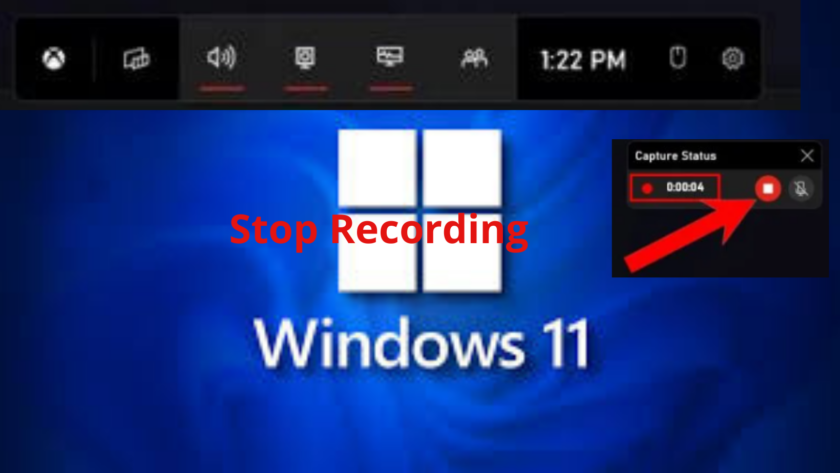
04) The tiny pop-up window in the top-right corner of the screen has a clock that you can use to check the time. Click Stop Recording once you’ve finished recording your information.
Get saved recordings
The Xbox Game Bar may need several minutes to encode the video, depending on how long it is. It will be in its default save place when finished.
01) Open a file explorer.
02) Find the Videos folder in the “This PC” section of the left side and click it..
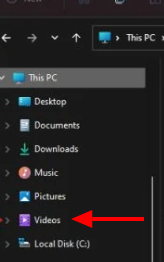
03) Open the Captures folder to find your recording.

If you’re recording anything from the Internet, the video is already lengthy, but if you want to capture gaming, it might not be enough. If you are recording a window or application, it is also configured to record at Full HD resolution and 30 frames per second. You can adjust it to record in higher quality and frame rate.
If you want to change the settings for the Xbox Game Bar, you must go to Windows Settings to do so. The Xbox Game Bar is initially configured to only record your screen for two hours. The following describes how to access the Xbox Game Bar settings:
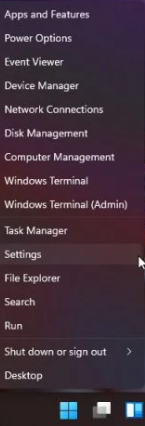
01) To display the options menu, use a right-click on the Windows key
02) To access the Settings app, look for it and click on it.
03) Click on “Gaming” in the window’s left-hand section.
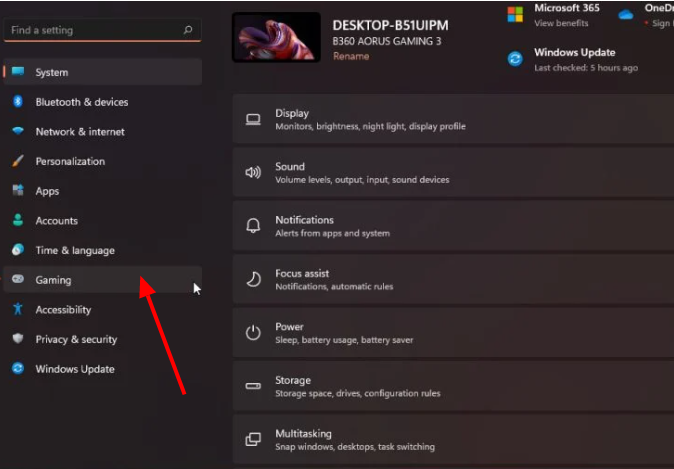
04) After that, click Captures to customize the Xbox Game Bar’s settings.

02) Nvidia GeForce Overlay
Using Nvidia GeForce Experience, record screen on Windows 11.
The Nvidia GeForce Experience software, which is typically installed on your system along with the GPU drivers, may be another screen recording option that comes pre-loaded on your Windows 11 PC.
Follow these steps :
01) Get the screen, application, or video ready for recording.
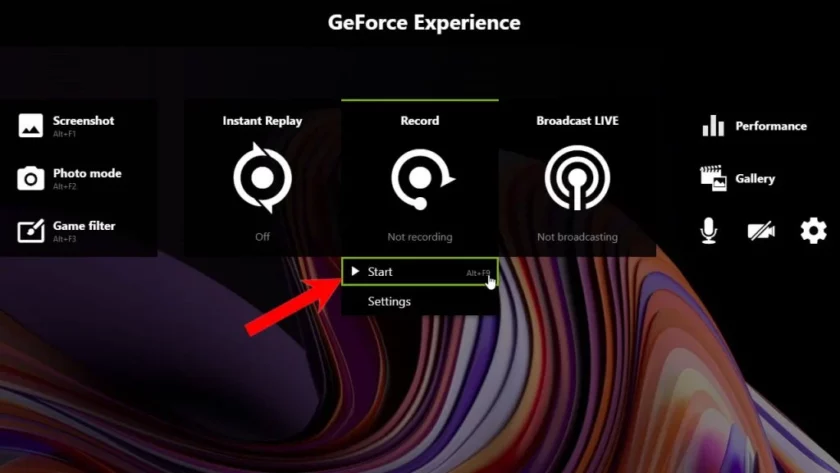
02) To open the GeForce Experience overlay, press Alt + Z.
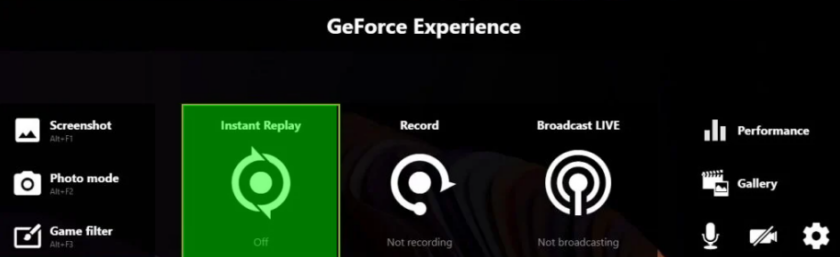
03) To start recording, first click Record, then Start. As an alternative, you can simply press Alt + F9 to start and stop recording your screen.
Get saved recordings
The recordings are automatically saving in the Videos folder under Documents, just like the Xbox Game Bar. However, it is good that you switch it to a drive with enough storage.
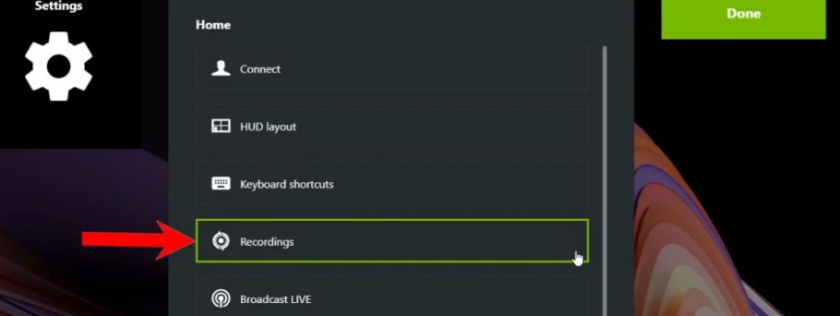
01) To start the overlay, press Alt + Z.
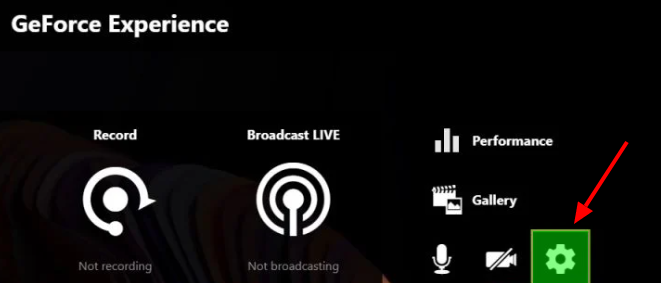
02) Click the Settings icon.

03) Select Recordings.
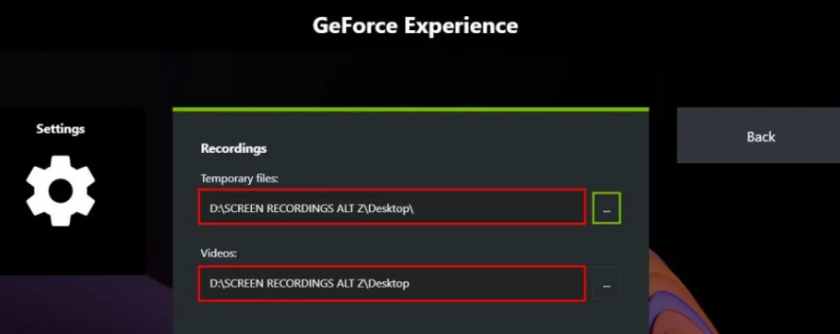
04) Modify the location of your videos and temporary files. Using the same directory for both will make it simpler for you to locate your screen recording videos.
Change the settings for GeForce Experience
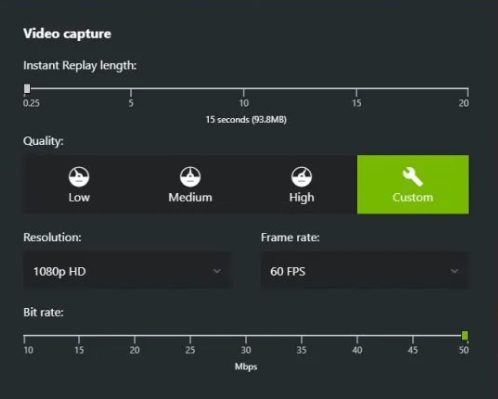
The GeForce Experience screen recorder’s default settings can modify to suit your requirements. If your monitor is suitable, you can even record 4K screen recordings at 60 frames per second.
01) Press Alt + Z to display the overlay.

02) Click the Settings icon.
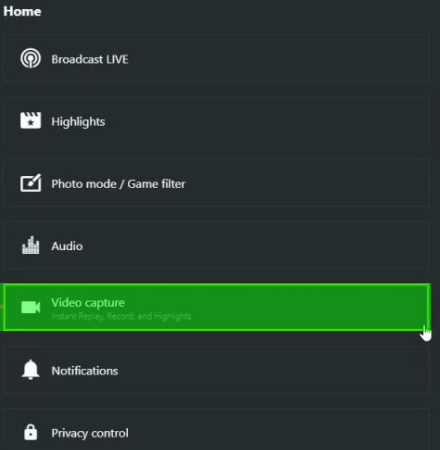
03) Click Video capture.
04) Adjust the parameters as desired.
Screen recording will be much easier if you have an Nvidia graphics card and have the GeForce Experience installed.
03) Microsoft PowerPoint
If you use a Windows computer for business, Microsoft Office is undoubtedly already loaded on it. And did you know that PowerPoint can be used to record a screen? Here is how to accomplish it:
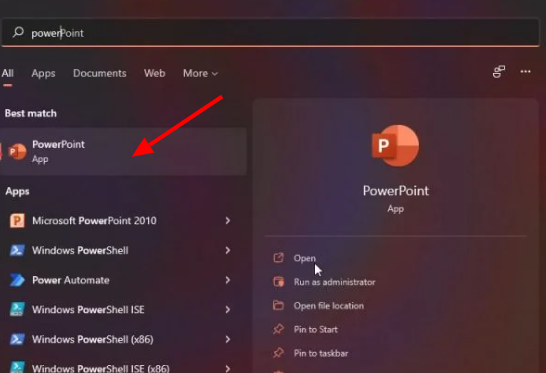
01) Launch Microsoft PowerPoint.
02) Choose Blank Presentation.

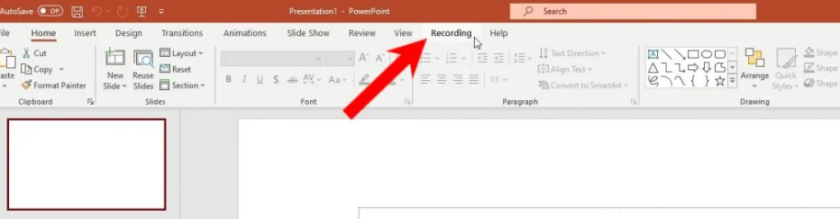
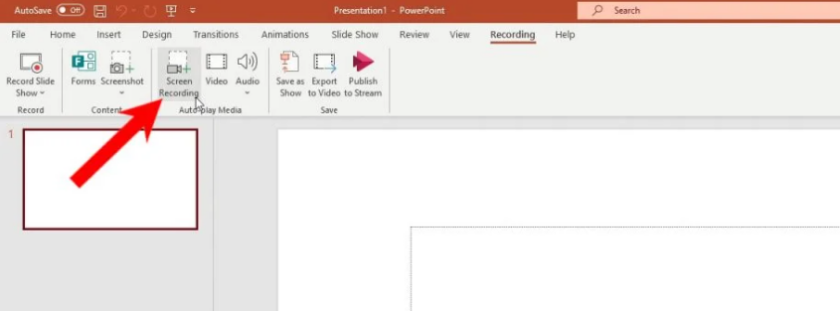
03) Select Recording from the menu bar.
04) Select Screen Recording, and PowerPoint will be shrunk so that you may record the screen while still having access to the buttons at the top of the screen.
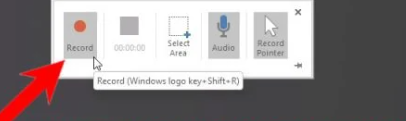
05) Click the Record button after choosing the portion of the screen or the complete screen that you wish to record.
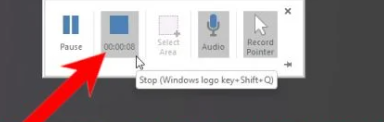
06) Once the content has been captured, move your pointer to the top-center of the screen to see the controls, then click Stop.
07) The PowerPoint presentation will automatically contain the recording.
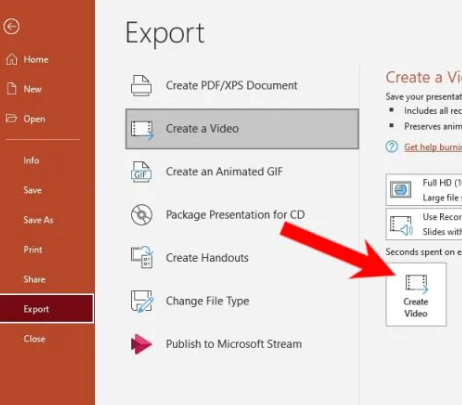
08) Select Recording in the menu bar once more, then click Export to video to export the video.
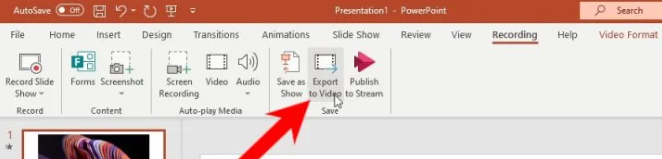
09) Click Create Video after making any necessary adjustments.
Depending on how long the recording is, it can take a few minutes, but once it’s done, you can play the video file without any issues. Additionally, PowerPoint automatically records audio.
04) ShareX
Use the third-party program ShareX to record your screen. You can download it for free from the Internet because it is open source. How to use it to record your screen is as follows:
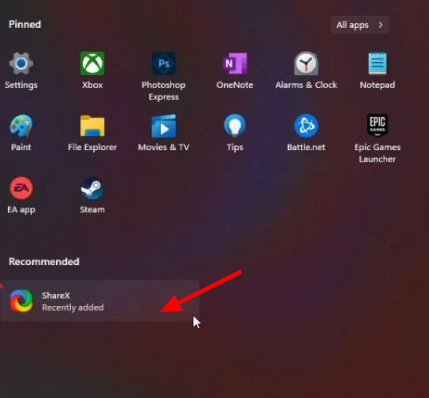
01) Install ShareX first after Downloading it and Start the app.
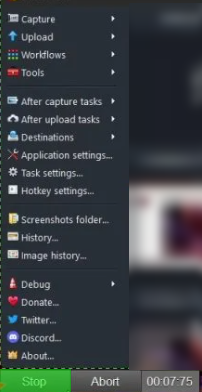
02) Click Screen recording after Selecting Capture.
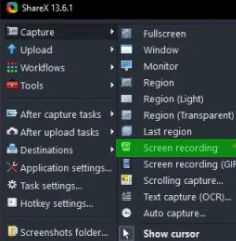
03) Click start recording after selecting the portion of the screen you want to capture. For ShareX, there is no button to record the screen.
04) When you’re finished recording, click Stop to access the controls in the lower-left corner of the screen.
You’ll receive a notification and the video will be automatically stored to the default place. You can record as much as you like with ShareX and it supports audio recording because it has no maximum recording length.
05) OBS – Open Broadcaster Software
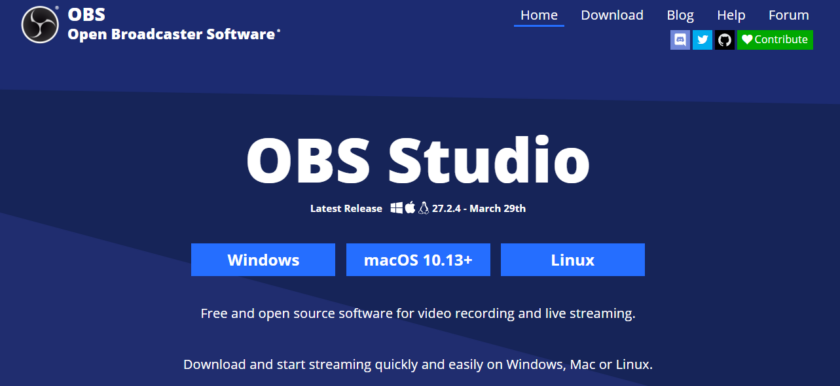
01) Download and set up OBS.
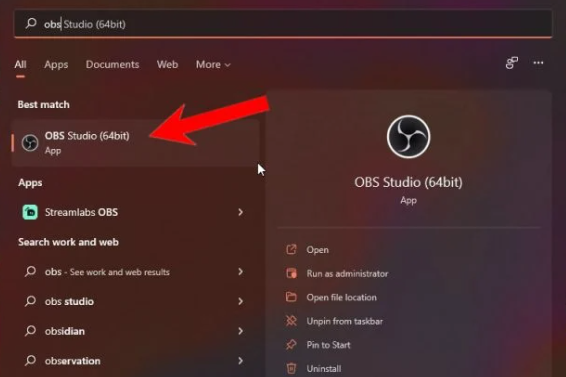
02) Open the application after the installation is complete.
03) Click the plus sign (+) to add a scene and give it a suitable name in the lower-right corner of the screen under Scenes.
04) Click the plus sign (+) next to the Sources section, which is right next to the Scenes section, to add a source.
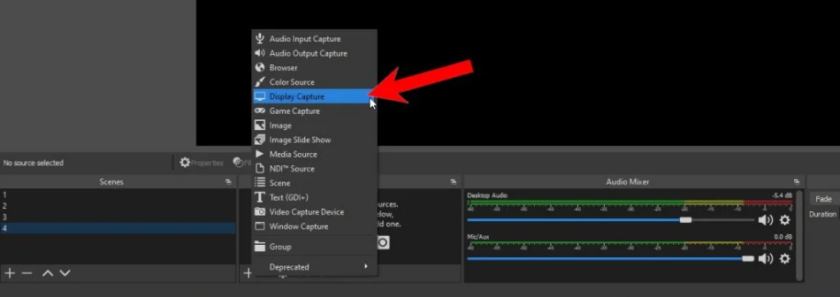
05) Select Display capture, then give it a suitable name.
06) Keep the Display and Capture method at their usual settings, but uncheck Capture Cursor if you don’t want to capture the cursor. Click OK once the changes have been made.

07) Next, select Start Recording from the screen’s lower-right corner. After you’re done, click “Stop Recording,” and the video will be instantly saved.
Screen recording is merely one of the numerous features offered by OBS, which is a fairly robust tool. In reality, it has audio recording capabilities, allowing you to record system sounds if you so desire.
The Game Bar that comes pre-installed on your Windows 11 machine is the first tool we recommend trying if you’re still seeking for one that you can use to record the entire screen or just a portion of it.
So, these are the 05 easiest and best ways to record screen in Windows 11. Hope this article will be useful for you. Thanks for reading…
FAQ :
(01) Any website able to recognize screen recordings?
When you screen capture or take a screenshot of a website, you do so on your local device without the website’s input, leaving it in the dark. The majority of how screen recording functions is the same, although different apps will track it. This is frequently done to safeguard protected content and stop piracy.
You May Like To Read :